return |

|
Noteworthy Projects1518 copy of Ovid |
return to |
| I did a rebinding project for an institutional client, The University of Missouri Special Collections, and thought I would share a little of the process (with the permission of the client). This is not intended to be a formal instruction of the process, and my descriptions use common terms rather than more accurate technical terms. | |||
|
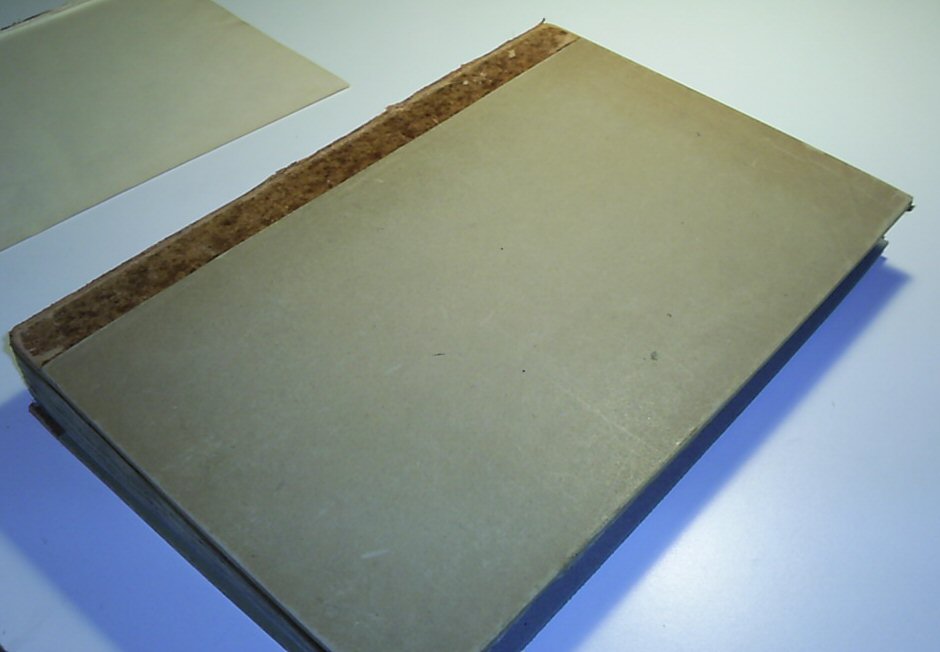
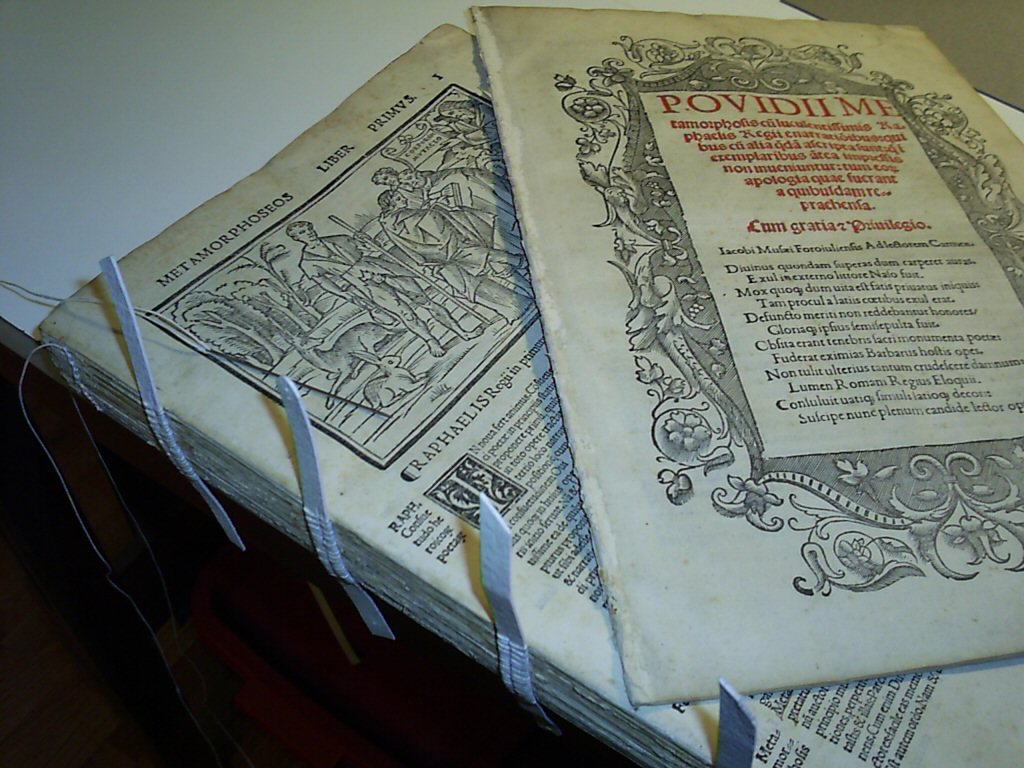
The book was a copy of Ovid's Metamorphoses printed in Venice and dated
1518, and had been rebound sometime in the early 19th century, from the
looks of it. The sewing structure of the book was breaking down, the
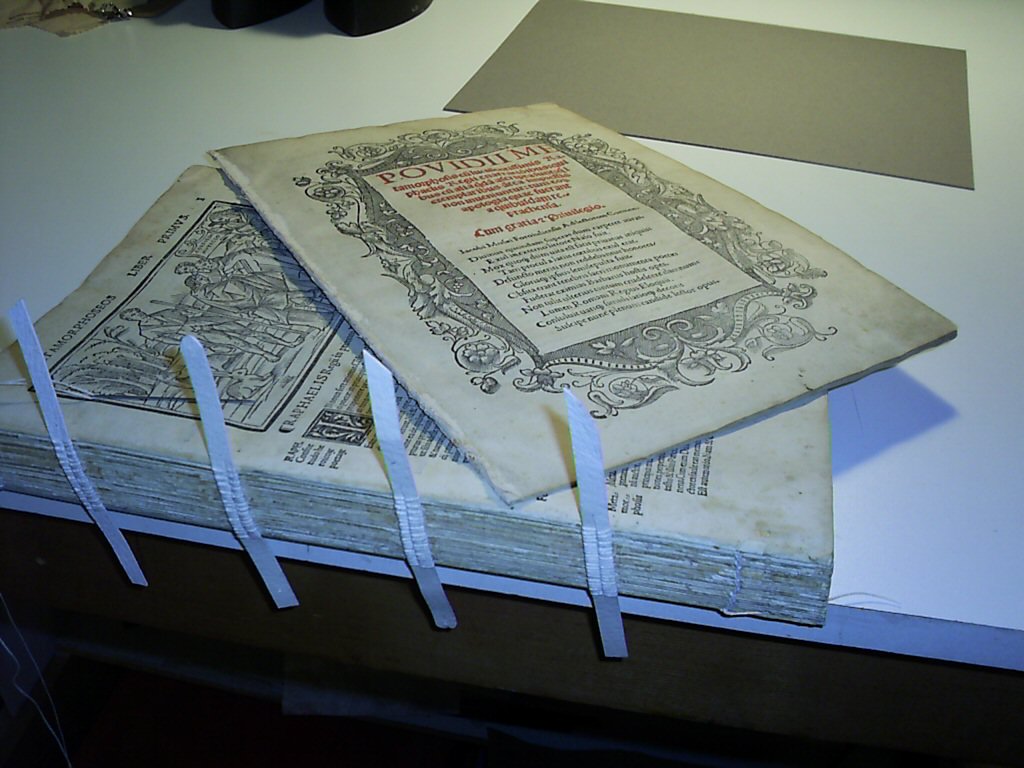
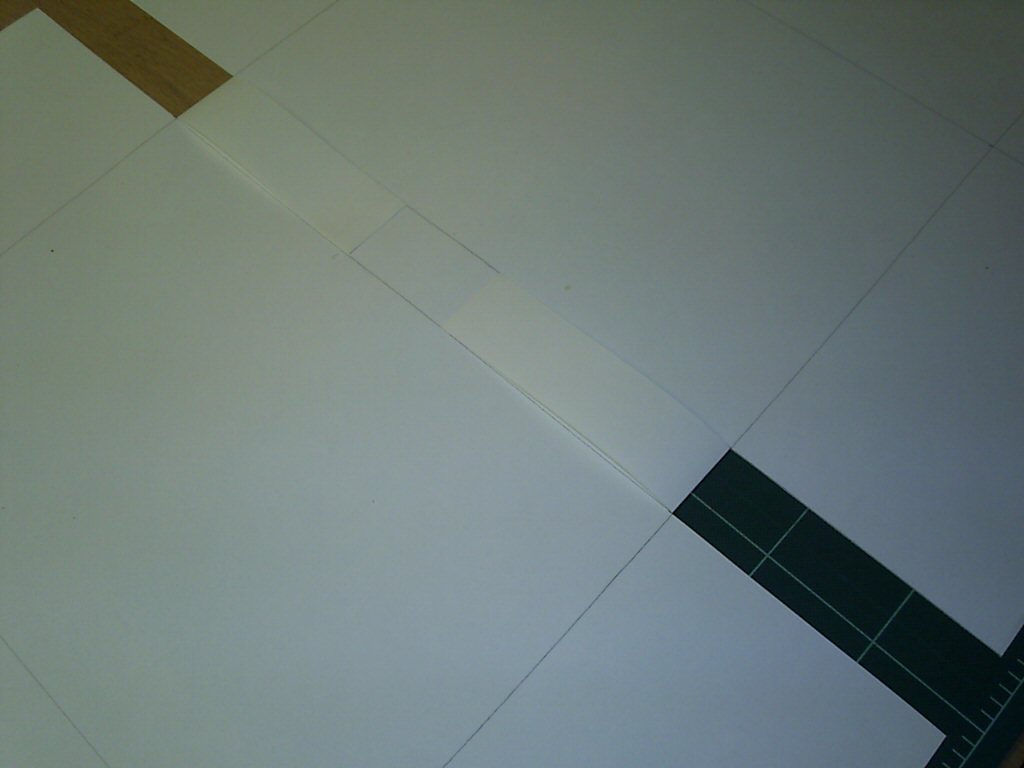
covers were badly worn and detached, the pages in good condition overall.
In discussion with the client, we elected to rebind the book in a
Limp Vellum
Binding appropriate to the period and location. This would help to
present the book in a more appropriate format, and would actually make reading
it much easier, as it would open more completely. In keeping with the
simplicity of the style, and since we had no original cover to work from, there
would be no tooling or decoration of the cover. Here is a brief series of images and descriptions from the project (click on each photo for a larger version): |
|
||
|
|
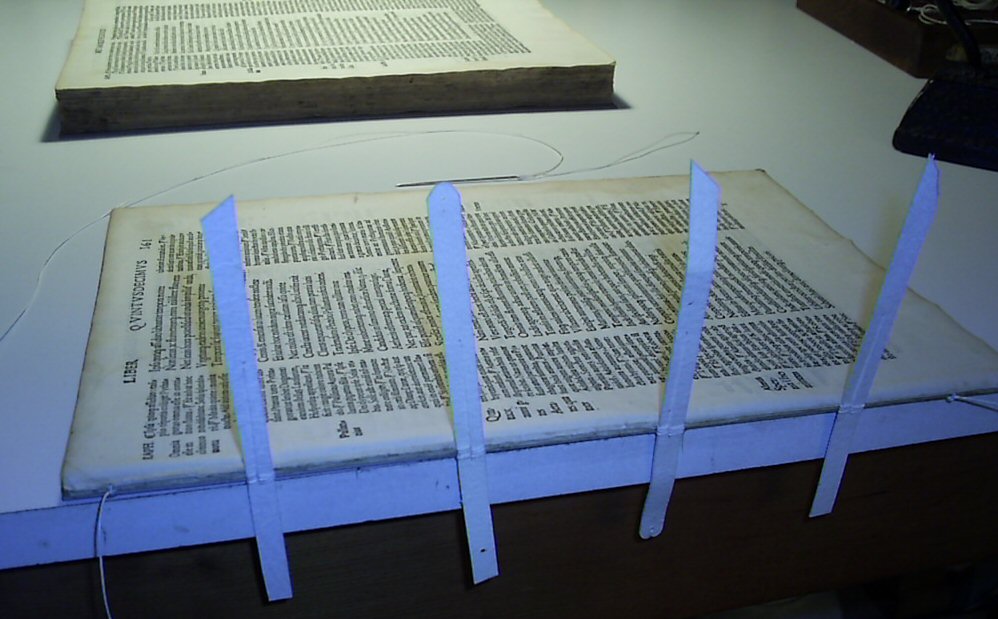
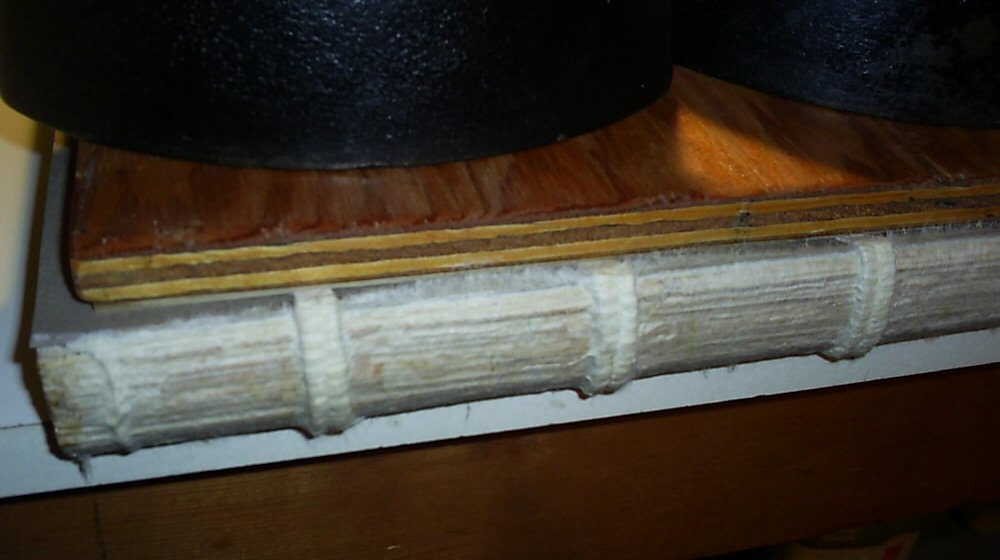
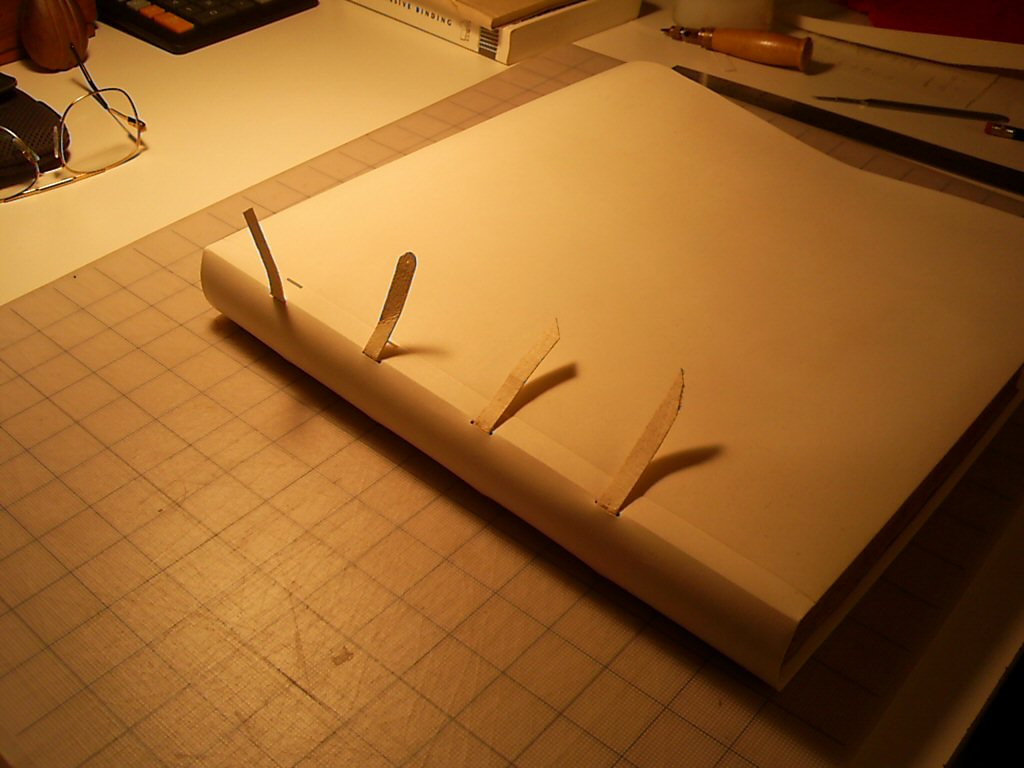
First, I removed the 19th century covers, cleaned the spine of old adhesive, and dis-assembled the book. Then I created strips of alum-tawed pigskin of the appropriate length, and put a single slit in the middle of each through which the sewing could be done using linen thread. As the strips were stiff and free-standing, there was no need to support them in a sewing frame as would be done with cord. | |
| Sewing progressed using the original sewing stations (where the holes were poked in the folios) until completed. | New endpapers were sewn on, using an archival quality paper. I selected a neutral grey paper for two reasons - it would clearly indicate that it was separate from the original paper for future reference, and the edges of those sections would match the discolored edges of the rest of the text block. |

|
|
 |
 |
||
|
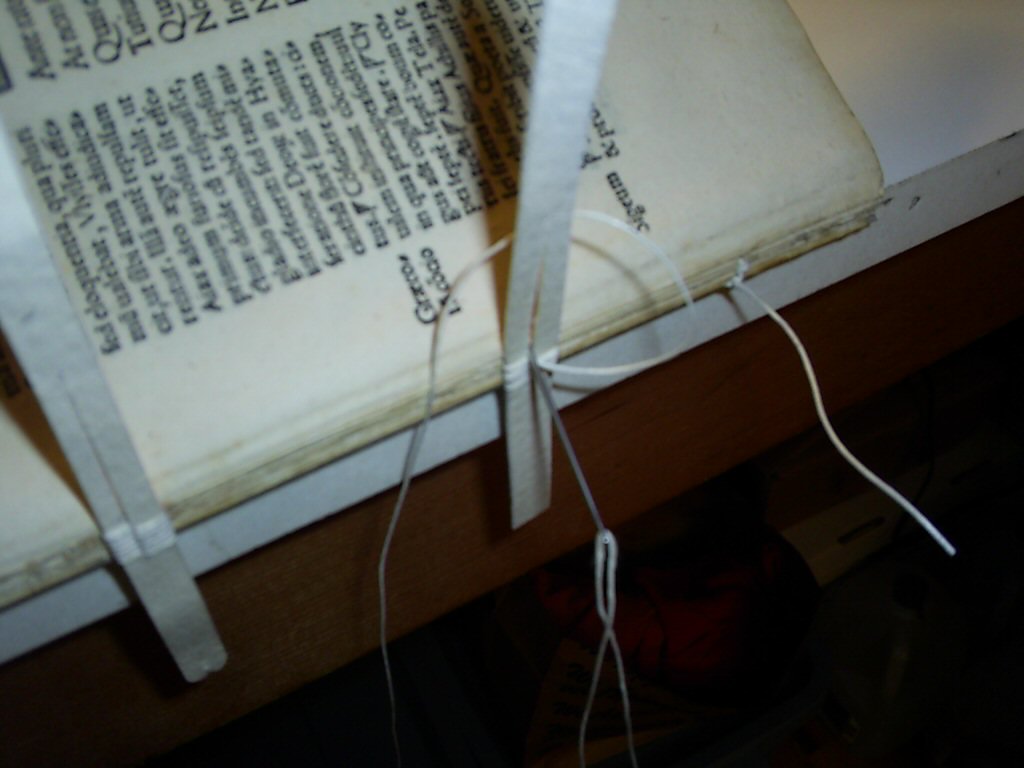
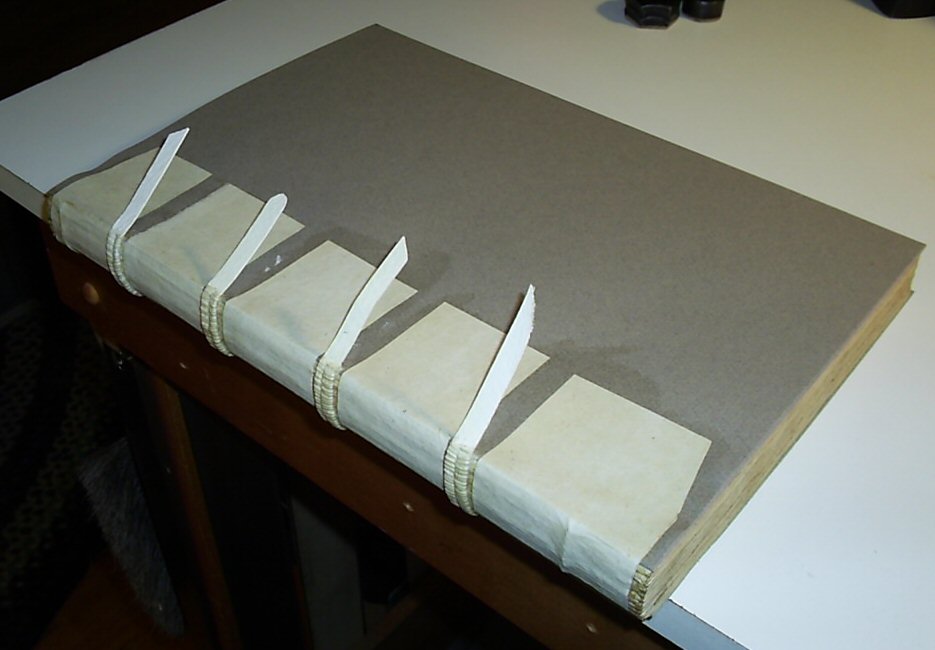
Then the text block was secured, and given a light application of PVA-Methyl
cellulose mix along the spine. A thin layer of kozo was applied to help
support the sections and stabilize the text block. Once this was dry, another light application of PVA-Methyl cellulose mix along the spine, then some strips of thin handmade flax paper was applied, which came up onto the first folio of the of the end sections. These liners would serve the purpose of helping to support the text block's mechanical mounting to the cover. |
|
|
| One of the interesting things about the Limp Vellum Binding is that the cover is mounted mechanically to the text block, without the use of any adhesive. This allows the cover to move more naturally, and accepts the normal changes in the shape of the vellum as environmental conditions change. It is generally agreed that this is what has allowed these structures to hold up so well over the centuries. Notice the strips of alum-tawed pigskin standing up in the last photo. These would be the primary means of attaching the cover to the text block. | |||
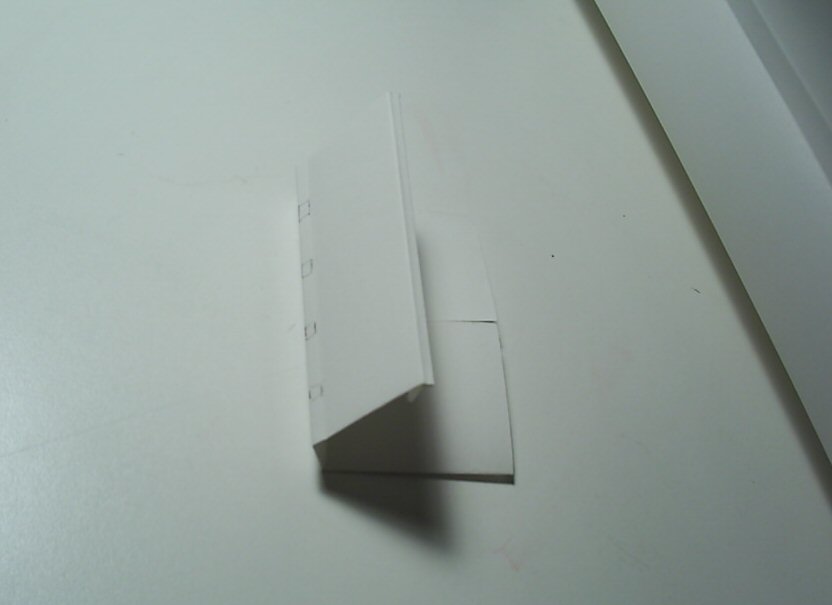
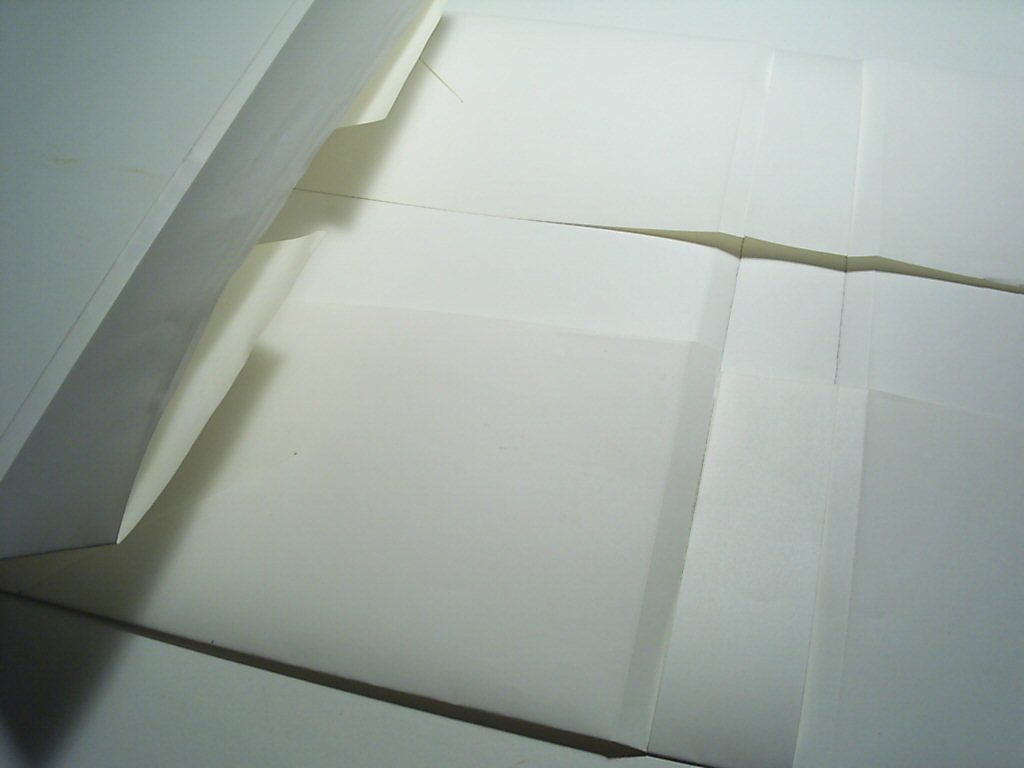
| Once the sewing was done, I constructed a small paper model to refresh my memory of how the binding would work. Then I took careful measurements of the binding, and constructed a full-scale mock-up of the cover in paper. This allowed me to make sure I had thought through all the issues about how the vellum would need to be cut and folded properly. Since the sheet of vellum cost over $200, I wanted to make sure I didn't make any errors in this. | |||
|
|

|
|
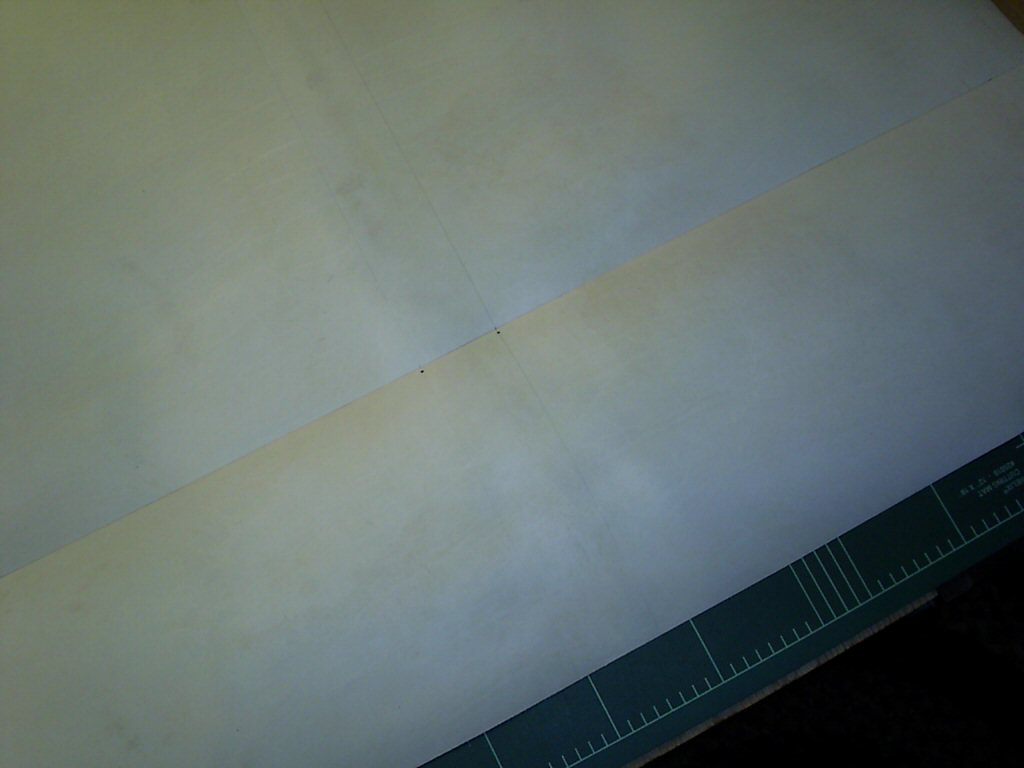
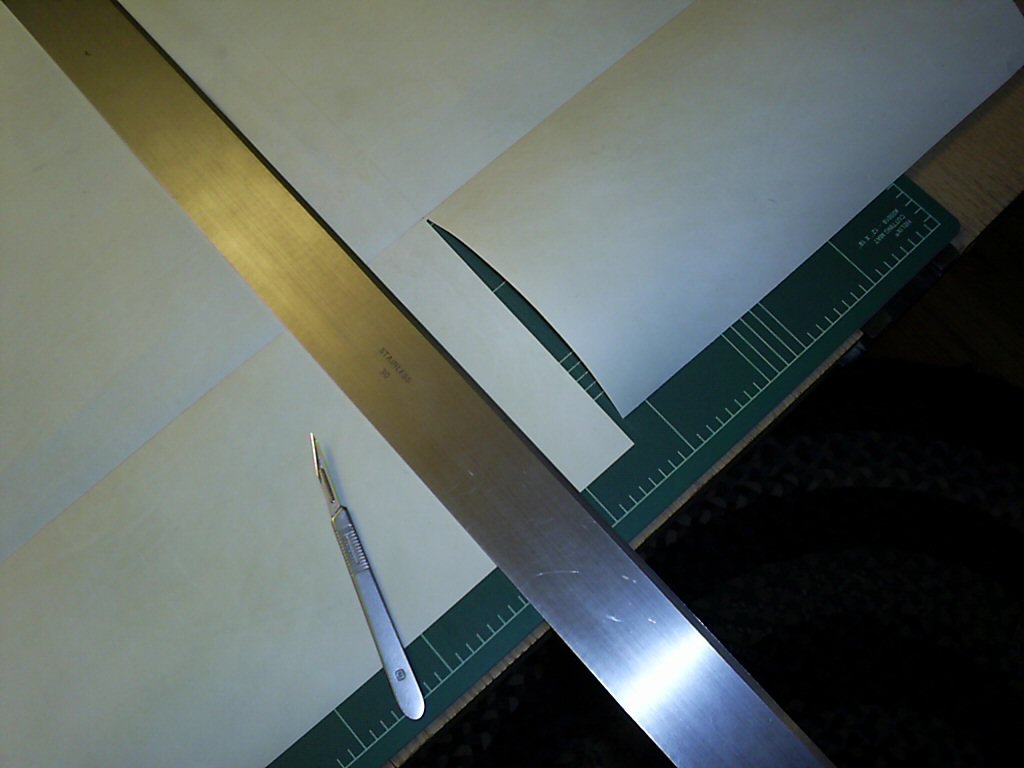
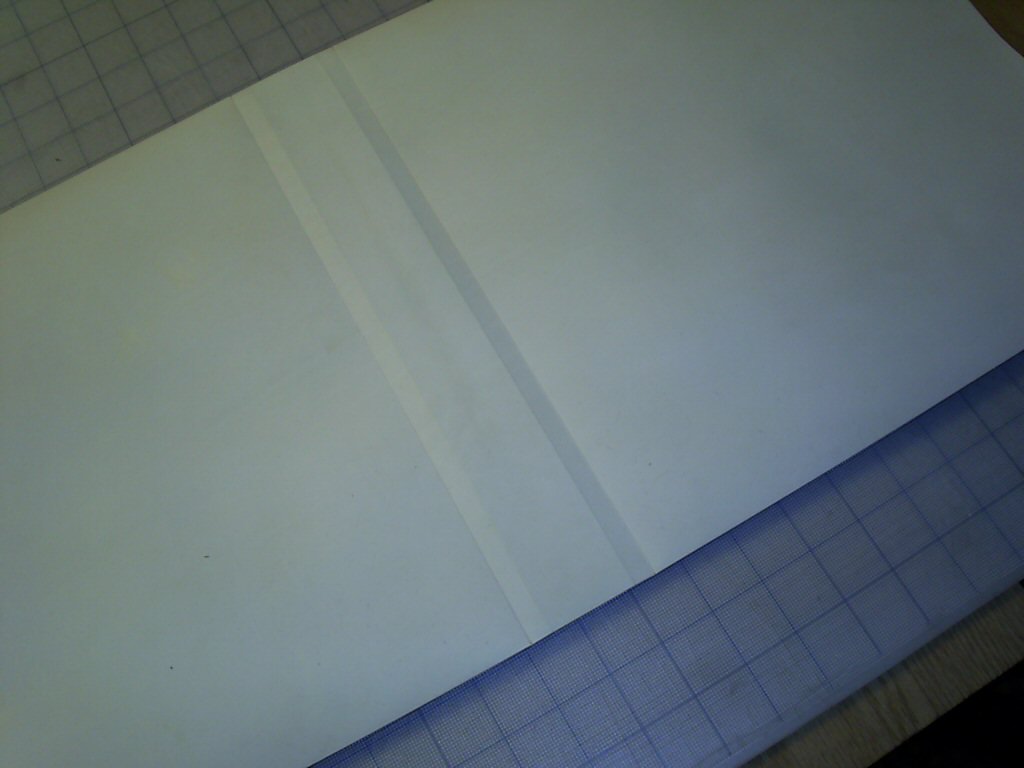
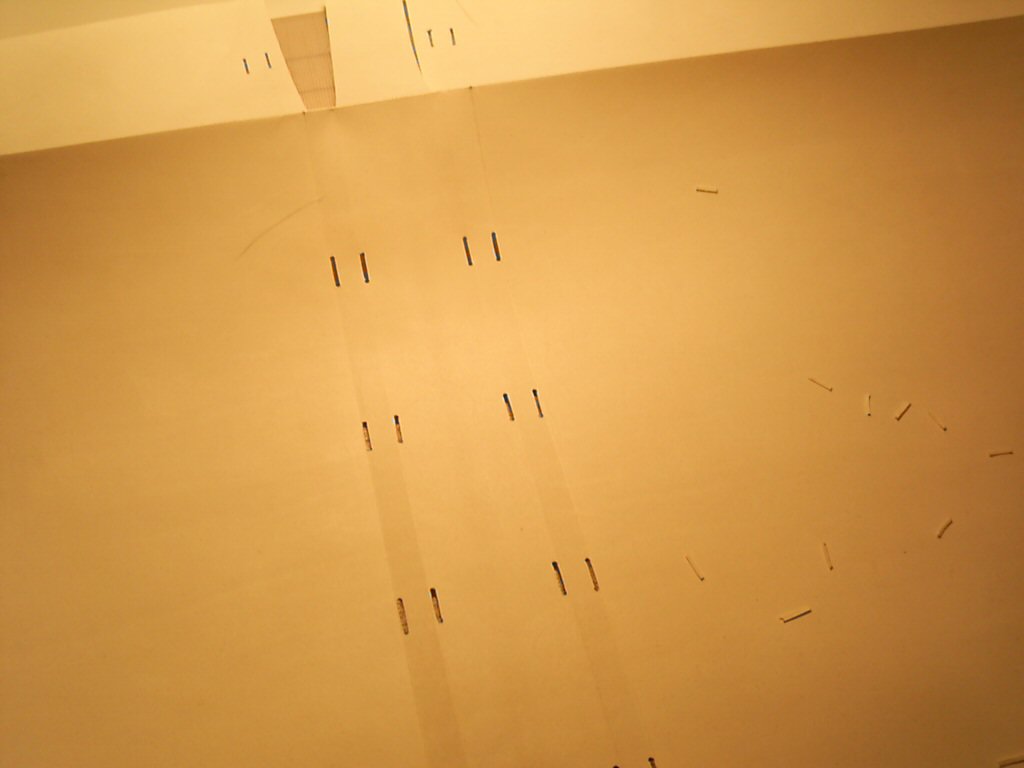
| Once I was satisfied that I had everything worked out with the paper mock-up, I cut the vellum to size (about 25" x 27") and started laying out the positions of folds, cuts, and slots in light pencil. Once this was done, and double checked, I started cutting the vellum as necessary to create the folds, turn-ins, and slots. In order to minimize the risk of the vellum tearing at the start of any cuts, I used a small screw-punch to make a 1.2mm hole at the start and finish of any cuts or slots. |
|
|
|
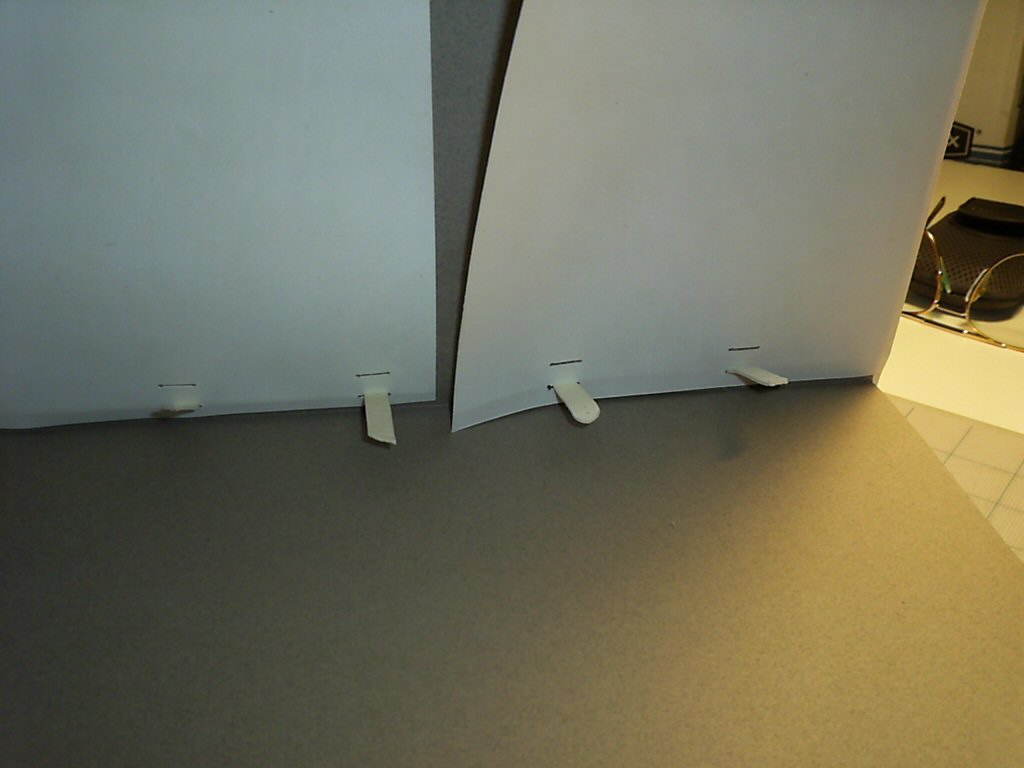
| First, I made the folds for the head and tail of the book, with slits to allow for the spine joint. | This is seen with the hinge fold from the outside of the cover. | Then I carefully positioned the text block, and took measurements to indicate where the strips of alum-tawed pig would come through the vellum at the spine and go back through at the hinge. Slots were cut to accommodate the pigskin at these locations. | |

|
|
||

|
|
||
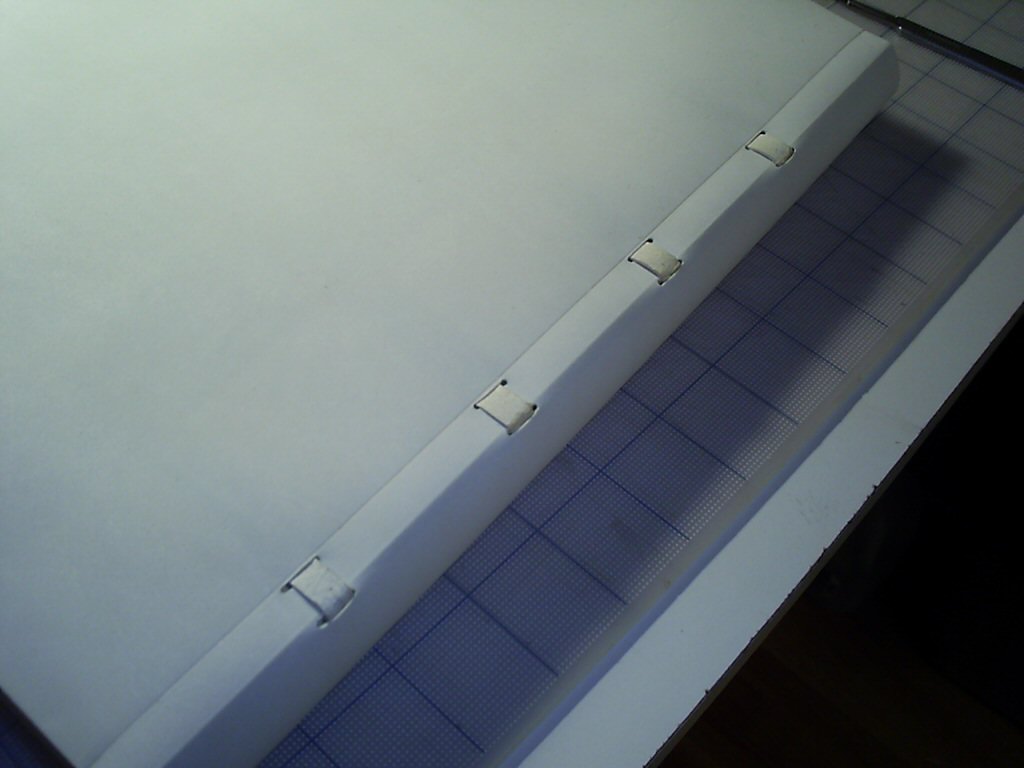
| Once all the slots were ready, I positioned the text block, tucked the first and last folio into the cover, made a small slit through the folio at each slot location, and started 'lacing in' the strips of pigskin. The strips of pigskin come out, through the vellum from the spine to the hinge, then back inside and are tucked under the vellum turn-in so as to be hidden. |
|
|
|
|
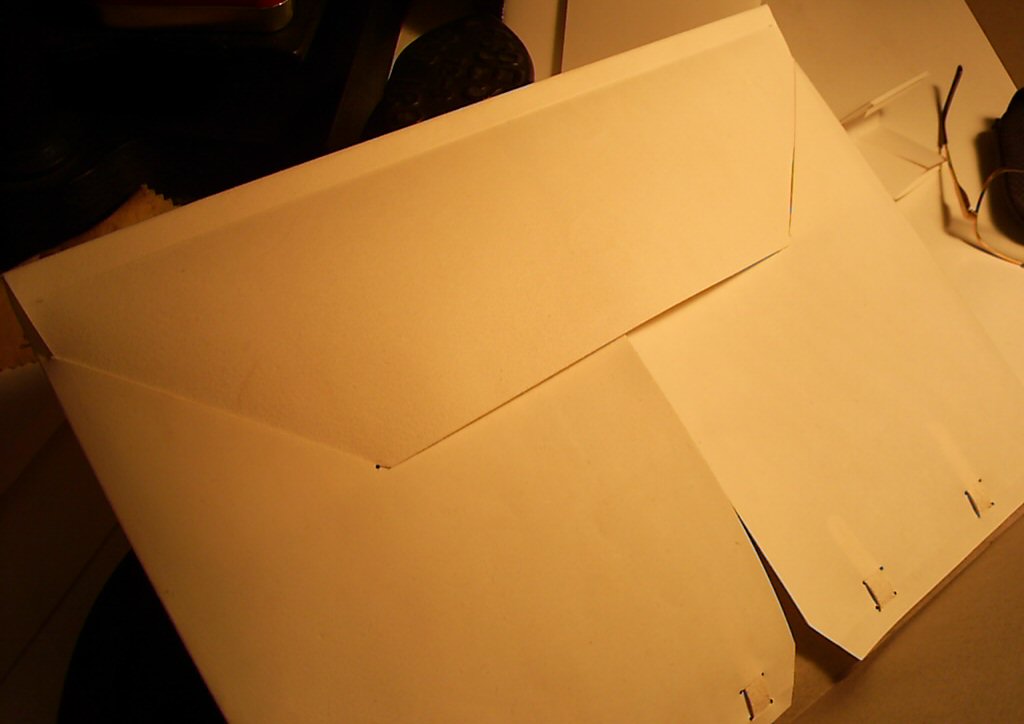
Once all of this was completed, and the text block securely mounted to the cover, I noted the position of the fore-edge of the text block relative to the protruding cover. The client wanted a Yapp-style fore-edge (where the vellum extends out about a half inch, with a slight downward fold to protect the text block). I made the necessary folds, removed a rectangle of excess material, and positioned the location of the slit needed to hold the turn-in at the fore-edge in place. | ||
|

|
||
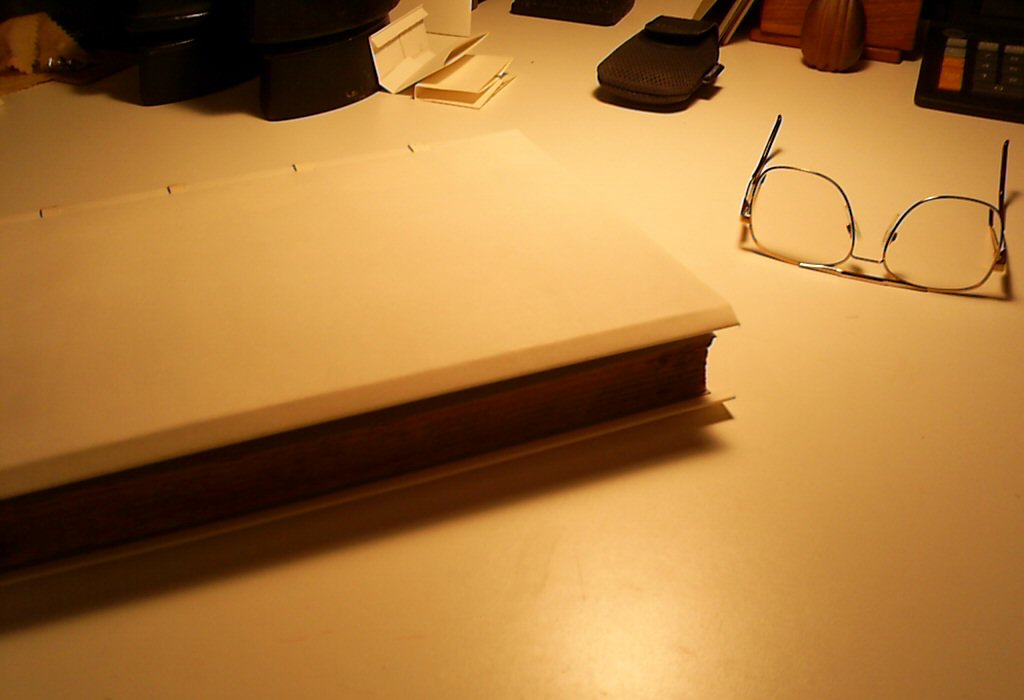
| And everything was done. | |||
|
|
BY APPOINTMENT ONLY |
 site designed and maintained by |